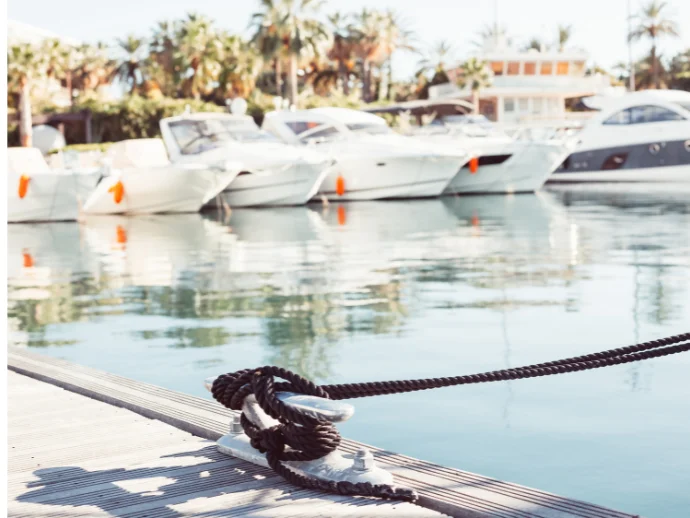
When viewed from a distance, docked boats may seem fairly simple. However, anyone who has perhaps experienced rope tangling on torture, hull scraping, or an injured dock knows otherwise. Whether you’re tying into your slip after a sunny day on the water or just heading off for the night, understanding how to tie a boat to a dock is a must. It keeps your boat safe from damage, inadvertent or intentional, unnecessary loss, and costly repair work.
Why Is Proper Docking So Important?
Improper docking is one of the greatest causes of damage in a marina. Improperly secured boats can bash harshly into docks, strike other boats, or simply drift off on a journey. Even if you’re just stepping off your boat for some minutes, an unlucky puff of wind or wake from another boat could do damage.
Docking keeps your boat in its place, with the least amount of motion acceptable, impact avoided, and protection ensured for your vessel while you are away. Those extra two or three minutes spent tying that dockside can save you hundreds or even thousands of dollars in the future.
Step 1: Approach the Dock Slowly and Smoothly
In all steps, the dockside approach at idle should commence first. This affords the opportunity of effective reaction and adjustment.
Think of the scenario as parking your car in a spot; you would never rampage into the spot at full speed. Go slow and keep a hand on the throttle.
Try to approach the docks into the wind or current so you have some control, as nature’s resistance tends to slow down movement. If the wind is at your back, you will find things moving faster than is anticipated, leading to bumping or lines being missed.
Before reaching the dock, have your crew/passengers set fenders and prepare lines so there is no last-minute scrambling.
Step 2: Know Your Docks
All docks aren’t designed equally, and this affects how you secure your boat.
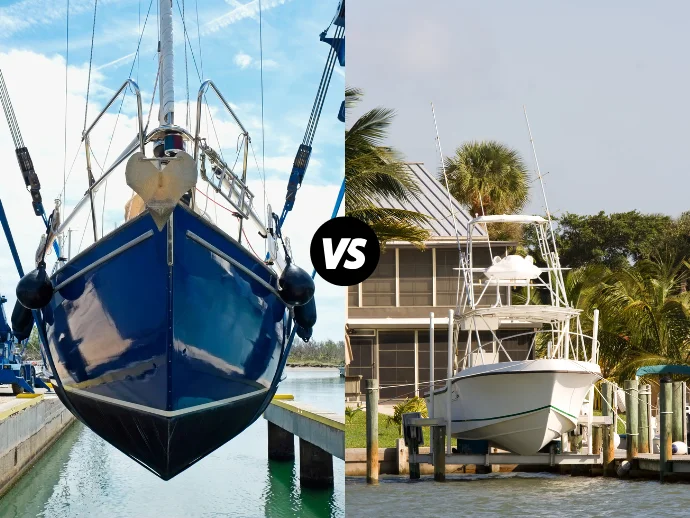
Fixed docks do not move up or down with the tide because they are securely fastened to pilings or the shore. As the water level changes but the dock remains, some slack needs to be provided in your lines so your boat may rise or fall without any undue strain on the ropes.
On the other hand, floating docks fluctuate in height in tandem with the water level. These require somewhat less slack but still need flexible tie-ups. Always take into account the changes in water level, together with wind and wave movements, when tying your boat.
Step 3: Get to Know the Docking Lines
Some lines have to be in the basic vocabulary of any boater:
- The bow line keeps the boat’s bow from slipping away by fastening it to the dock.
- Together with its twin, the bow line, the stern line secures the stern to the dock and aids in keeping the boat parallel to it.
- Spring lines are tied diagonally and tend to keep the boat from moving forward or backward; great in areas where wind movement is quite frequent.
- Some boats will have breast lines that pull the boat in quite tightly during short stops.
For small boats, a simple bow and stern line is sufficient for quick tie-ups, but for overnight docking or in rough conditions, it does pay to include spring lines.
Step 4: Learn How to Tie a Cleat Hitch
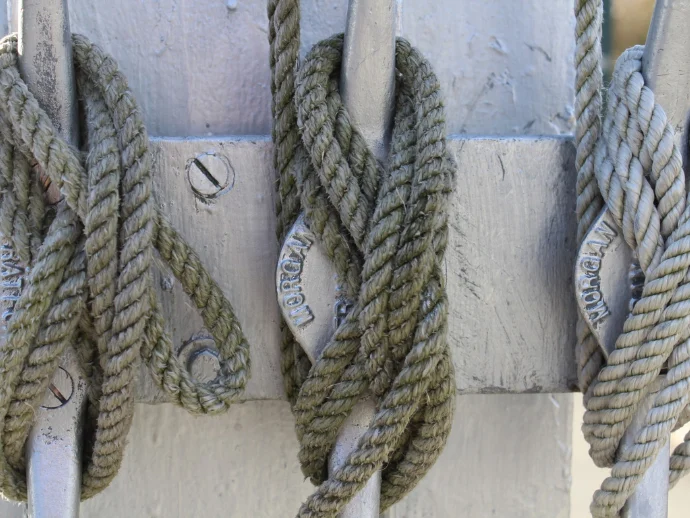
The cleat hitch is the knot used to secure dockside lines to cleats. It is quick, easy to construct, and holds fast under pressure.
A line is wrapped underneath one horn of the cleat, then crossed over the top in a figure-eight fashion. After the second turn, the loose end is tucked underneath the last loop and pulled tight to ensure security.
This is a classic case of perfecting the skill by practice. When you’ve gotten it down, you can complete a tie or untie in seconds, even with cold, wet hands.
Step 5: Use Fenders to Protect
Fenders are the boat’s first line of defense between it and the dock. Before you tie off, ensure your fenders are in place: hang them just above the waterline over the side so that they sit between the hull and the edge of the dock.
Fender size and numbers depend on the boat. Normally, there should be one fender for every 10 feet of boat length; in general, more fenders are deemed better if operating in rough conditions.
They should be securely tied to the boat’s cleats or railings. Your hull is left uncovered if the fenders slip.
Step 6: Tie Bow and Stern Lines
When the boat is already alongside, the bow line should be set first. This prevents the boat’s bow from swinging outward and keeps it steady. Follow that with securing the stern line.
Lines must be pulled tight but not overly so; ideally, the boat should be allowed a margin for floating and slight movement with water without extra pull from the lines.
Check the level. Position the lines to balance it out if the bow is closer to the dock than the stern side, or the other way around.
Step 7: Spring Lines for Security
Time to add spring lines now. These lines are tied diagonally between your boat and the dock. For instance, the line could be tied from the aft cleat on your boat to a forward cleat on the dock to keep the boat from moving aft. To stop forward movement, the other spring line can be attached to the aft cleat on the dock and the front one on the boat.
Spring lines will give you great value when staying tied to the dock overnight or if other boats pass by and raise a wake or three with their propellers.
Step 8: Final Check Before Leaving
All lines tied and all fenders in place; now comes a quick check-round.
Grab each line, test for security, and if a knot looks loose or awkward, retie it. Set your fenders so that they hang just right and are not floating too high or sitting too low.
Check for chafe points. If the lines are rattling against any sharp edges, put on chafe guards or wrap appropriate sections with an old rag.
Finally, ensure that the lines will not be tangled or snagged while the boat shifts. Cleanly laid-out lines are safer and much easier to work with the next time.
Last Tips to Avoid Damage
Properly tying up is just one part of the equation. Here are additional tips for protecting your boat and gear:
1. Use Good Quality Dock Lines
Put simply, use marine-grade rope. Dock lines should be rot-resistant, UV-resistant, and chafe-resistant. Nylon is an excellent choice—it’s quite strong, and its inherent ability to stretch makes it superb for absorbing shock. Fuse check and replace lines that look worn or frayed. Under stress, worn lines can break.
2. Size Your Fenders Appropriately
If your fender is too small, it won’t do any good, especially if you are on a larger boat. You should use at least one fender for every 10 feet of length of your boat. Round fenders are great for pylons, and cylindrical fenders work best when docked at flat floating docks.
3. Pay Attention to Weather
When preparing for high winds or heightened tidal ranges, some additional slack is a good plan to retie your lines. Double lines may be useful, and you may even take the precaution of adding extra fenders just in case.
4. Use Chafe Protection
Most lines will rub on something, whether it is your boat or the dock itself. Rubbing can wear out your lines fast. Use chafe guards or chafe sleeves, plastic tubing, or even old rags at the important chafe points where friction is happening.
5. Never Tie to Weak or Imminently Weak Dock Fixtures
Before you use them, test the strength of the dock cleats or dock posts. If there’s any degree of looseness, skip using it. Use the cleat beside it or switch sides. Your line is only as strong as what you tie it to.
6. Practice in Calm Conditions First
Are you new to boating? Get used to docking the boat when you start in calm conditions. Learn how your boat reacts, how quickly it can stop, and how to adjust lines, etc. Practising when the pressure is off will give you a little more confidence when conditions get rough.
Conclusion
Learning how to tie a boat to a dock safely is truly one of the most important skills any boater can have. It’s not just about making your setup look tidy; it’s about protecting your investment and preventing damage while you are away.
If you make safe docking decisions, use proper fender placement, line off with secure knots, and use the correct amount of lines, you will not only protect your boat. However, each time you step away from the wheel, your confidence will grow. Take the time to study, practice, and double-check. Both your boat and your pocketbook will appreciate it.


